How to Check Orthopedic Implant MRI Compatibility?

Time:2026-09-26 Author:Sophia
0%

An MRI referral does not automatically mean an orthopedic implant is safe—or unsafe—for scanning. A titanium plate, a stainless-steel screw, and a joint replacement can behave differently in the same scanner. The American College of Radiology’s 2024 Manual on MR Safety emphasizes patient screening and device-specific assessment. FDA guidance on MRI device labeling also directs users to follow the manufacturer’s stated scanning conditions. The labels matter.

What factors affect the compatibility of orthopedic implants with MRI machines? Key considerations include the implant’s material, model, location, and fixation, along with the scanner’s magnetic field strength and operating conditions. A device marked MR Conditional is suitable only when its stated limits are met. These may include field strength, radiofrequency exposure, scan duration, and patient positioning. ASTM F2503 provides standardized terminology for MR Safe, MR Conditional, and MR Unsafe labeling. These terms are not interchangeable.

In practice, a radiology team may need the implant card, operative notes, or manufacturer documentation before confirming a scan. A healed fracture plate is not automatically equivalent to a recently placed implant, and a familiar brand name alone may not identify the exact model. Records are sometimes incomplete. That is a real limitation, not a reason to guess. Careful verification helps clinicians weigh potential heating, image distortion, movement, and other risks against the diagnostic value of MRI. The safest decision is specific to the device and the planned scan.
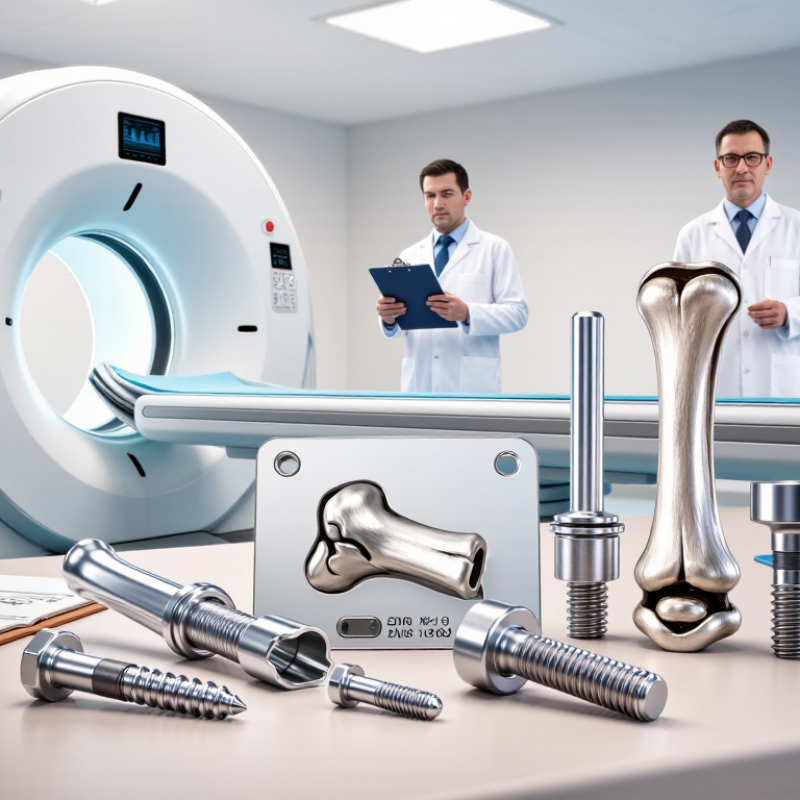
How to Check Orthopedic Implant MRI Compatibility?

Identify the Orthopedic Implant and Its Components

Before assessing MRI compatibility, identify exactly what is inside the body. Check the implant card, operative report, and discharge records, if available. Note the implant’s location, implantation date, and the procedure performed. A hip replacement may include a stem, head, and cup, while a spinal construct may contain rods, screws, and connectors. Small parts matter.

Records can be incomplete. Compare them with prior X-rays or CT images, and ask the treating surgeon’s office to clarify uncertain details. Look for the manufacturer, model, material, and any later revisions. Do not infer these from appearance alone: different devices can look similar, and mixed components may have different safety conditions. Even a single replacement screw can change the identification.

Write down every known component and flag anything unconfirmed. Share this information with the MRI facility before scheduling; its MR safety professionals can verify device-specific labeling and scanning conditions. “Titanium” by itself is not clearance. Compatibility may depend on field strength, scan settings, implant location, and time since surgery. If documentation is missing, say so plainly. Guessing feels efficient, but it can lead to the wrong screening decision.

Locate the Implant’s Records and Manufacturer Information

Locate the implant card, operative report, discharge summary, and any package-label stickers kept after surgery. Check the exact device name, model or catalog number, implant date, and every implanted component. A hip or spinal construct may contain several parts. One missing component can change the MRI decision.

The FDA’s UDI rule set phased device-label deadlines in 2014, 2016, and 2018 for risk classes III, II, and I. Its Global Unique Device Identification Database can help match a device identifier to manufacturer records, but it cannot confirm that a specific implant is safe for every MRI setting. The American College of Radiology’s Manual on MR Safety likewise stresses identifying implants and verifying applicable conditions before scanning.

Records can be incomplete. Mine were. If details are missing, ask the hospital’s medical-records department or surgeon for the implant log, then contact the manufacturer using the exact model information. Keep every page.

Give the records to the radiology team or MR safety officer, who can check field-strength limits, scan conditions, and any restrictions.

Never infer compatibility from an implant’s material or appearance alone.

Check the Implant’s MRI Safety Classification and Conditions

Start with the implant’s exact identification: device type, model, and any components added during surgery. A joint replacement, plate, or screw may be made from materials commonly used in MRI, but material alone does not establish safety. Check the implant card, operative report, or clinical record, then ask the radiology team to verify the device’s current MRI labeling. Details matter. “MR Conditional” means scanning is permitted only under stated conditions; it does not mean every scanner or protocol is acceptable. “MR Unsafe” means the device should not enter the MRI environment. If records are missing, do not guess.

Read the conditions closely. They may specify field strength, spatial-gradient limits, whole-body heating limits such as SAR or B1+rms, scan duration, coil type, or patient positioning. A limit can apply to the whole scan, not just one sequence. Staff should compare each requirement with the scanner and planned protocol before imaging. If a label lists a 1.5-tesla system, that does not automatically clear a 3-tesla scan. Some conditions can be easy to overlook, especially when an implant has several parts or a revision surgery changed the hardware. Ask the MRI safety team to confirm that every component and condition matches. When uncertainty remains, the ordering clinician and radiology team should review alternatives or seek more device information before proceeding.

Confirm MRI Requirements with the Radiology and Medical Teams

How to Check Orthopedic Implant MRI Compatibility?

Confirm MRI Requirements with the Radiology and Medical Teams

An orthopedic implant does not automatically prevent an MRI, but its exact details matter. Before scheduling, contact the radiology department and the clinician who placed or manages the implant. Share the implant card, if available, and any operative reports. Helpful details include the implant’s type, location, and surgery date. A knee replacement and a small fixation screw may require different considerations.

The radiology team should review the device documentation and determine whether the implant is MR Safe, MR Conditional, or requires further assessment. “MR Conditional” means scanning is permitted only under specified conditions, such as limits on scanner strength or positioning. The medical team can explain how those conditions relate to your health and the reason for imaging. Do not guess. Records can be incomplete, and that can be frustrating; tell the team what you do not know rather than filling in gaps.

Tips: Bring your implant card and medication list. Mention any recent surgery, pain, or unusual warmth near the implant. Ask whether additional records are needed and who will confirm the scan conditions. If the implant cannot be identified, pause scheduling until the radiology team advises you. The scan may still be possible, but confirmation should come from qualified staff—not assumptions.

Verify the Scanner Protocol Before the MRI Exam

Before an MRI, confirm the exact implant model using the implant card, operative report, or medical record. A note saying “metal implant” is not enough. MRI conditions can differ between devices, even when they look similar.

Check the implant’s official MRI instructions with the facility’s MR safety team. Confirm the scanner’s field strength, radiofrequency exposure limits, permitted coil, patient position, scan duration, and any required waiting period. Details matter. The protocol entered at the scanner console must match those conditions, not merely the department’s usual routine. A knee scan, for example, may use different positioning and coil settings than a scan of another body area.

Ask the technologist to verify the planned protocol before entering the scan room. If the scanner cannot meet a stated condition, the exam may need a different protocol or further review. Do not assume an implant is compatible because it caused no problems during an earlier scan. Records can be incomplete, and protocol details are easy to overlook. That is worth admitting: no checklist replaces a careful review of the specific device instructions. When the implant model or its conditions remain uncertain, pause and refer the case to the MR safety team before scanning.

How to Check Orthopedic Implant MRI Compatibility? — Verify the Scanner Protocol Before the MRI Exam

Use this checklist with the MRI safety team before scanning. MRI conditions are specific to the exact implant and its configuration; do not assume that all orthopedic implants are safe under the same conditions.

Check What to verify Where to confirm Before the exam
Implant identification Identify the implant type, manufacturer, model or catalog number, and implantation location. Record any components, extensions, or accessories. Implant card, operative report, medical record, or information from the implanting clinician. Match the exact device
MRI status Confirm whether the exact device is labeled MR Safe, MR Conditional, or MR Unsafe. If status cannot be established, escalate for review rather than assuming compatibility. Current device labeling and the facility’s MRI safety process. Document the status
Scanner field strength Check the permitted static magnetic field strength and any restrictions stated in the device labeling. Device-specific MRI conditions and the scanner’s technical specifications. Match the permitted field strength
RF exposure limits Verify any limits for whole-body or local Specific Absorption Rate (SAR), B1+rms, or other radiofrequency exposure measures, including the required operating mode. Device-specific MRI conditions and the planned scanner protocol. Set protocol within limits
Gradient and coil conditions Review any limits on spatial gradients, gradient slew rate, transmit or receive coil use, and body region restrictions. Device labeling and protocol details supplied by the MRI team. Confirm each stated condition
Position and scan duration Check required patient positioning, landmark restrictions, and any limits on continuous scan time or required intervals between sequences. Device-specific MRI conditions and the exam plan. Plan within stated limits
Implant configuration For systems with multiple components, verify that every component and the complete implanted configuration meet the MRI conditions. Do not apply conditions for a single component to a different configuration. Operative records, implant documentation, and device-specific guidance. Review the complete system
Image quality and artifact Consider whether the implant may affect image quality near the area of interest. The MRI team may adjust sequences or positioning where appropriate. Radiologist and MRI technologist, based on implant location and clinical question. Discuss expected limitations
Final protocol approval Have qualified MRI personnel review the documentation and confirm that the planned scanner and protocol satisfy all applicable conditions before the patient enters the scan room. MRI safety team and the responsible radiology service. Proceed only after approval

Important: This checklist is for planning and does not determine MRI safety for an individual patient. Follow the current, device-specific MRI labeling and local MRI safety procedures. If the implant or its conditions cannot be verified, pause the exam and consult the MRI safety team.

FAQS

What information should I find before an MRI?

Find the implant type, exact model, and any parts added during surgery. Check the implant card, operative report, or medical record. Details matter.

Is an implant safe for MRI just because it contains common medical metal?

No. Material alone does not confirm MRI safety. The exact device instructions must be checked.

What does “MR Conditional” mean?

MRI is allowed only when stated conditions are met. These may include scanner strength, heating limits, scan duration, coil type, or patient position.

What should I do if my implant records are missing?

Do not guess. Ask the ordering clinician and MRI safety team to identify the device before scanning.

Does approval for a 1.5-tesla scanner mean a 3-tesla scan is allowed?

No. A device approved under one field strength is not automatically cleared for another. Confirm the exact limit.

Who should check the planned MRI protocol?

The technologist and MR safety team should compare the console settings with the device instructions before you enter the scan room.

Can I rely on having had an earlier MRI without problems?

No. The implant or protocol may differ. A previous scan does not confirm that today’s settings are suitable.

What if the scanner cannot meet one of the implant conditions?

Pause the exam. The care team can review a different protocol or consider alternatives. I might be overlooking a detail, so careful review still matters.

Conclusion

Checking orthopedic implant MRI compatibility begins by identifying the implant and all relevant components, such as screws, plates, or joint replacements. Gather available records, including the implant card, operative notes, and manufacturer documentation, to confirm the exact device details. What factors affect the compatibility of orthopedic implants with MRI machines include the implant’s material, design, location, and documented safety conditions, as well as the scanner’s magnetic field strength and the planned imaging protocol.

Review the implant’s MRI safety classification and any specified conditions, such as limits on scanner settings or positioning. Do not assume that an implant is safe or unsafe based only on its age or general type. Before the exam, share the records with the radiology and medical teams so they can assess risks and determine whether additional steps are needed. The radiology team should also verify that the scanner protocol meets the implant’s requirements before proceeding. If key information is missing or unclear, the exam should be reviewed by qualified clinicians before it is scheduled.

Sophia

Sophia

Sophia is a dedicated marketing professional with an exceptional depth of knowledge about her company's products and services. With a keen understanding of market trends and customer needs, she crafts insightful blog posts that not only inform but also engage readers, enriching the company’s online......