Knee Femoral Instrument Set Surgical Technique
Here's a structured outline for "Knee Femoral Instrument Set Surgical Technique" useful for surgical guidelines, training, or documentation:
1. Preoperative Preparation
- Patient Positioning: Supine, with knee flexed to 90° or placed in a leg holder.
- Sterile Draping: Ensure full exposure of the operative knee.
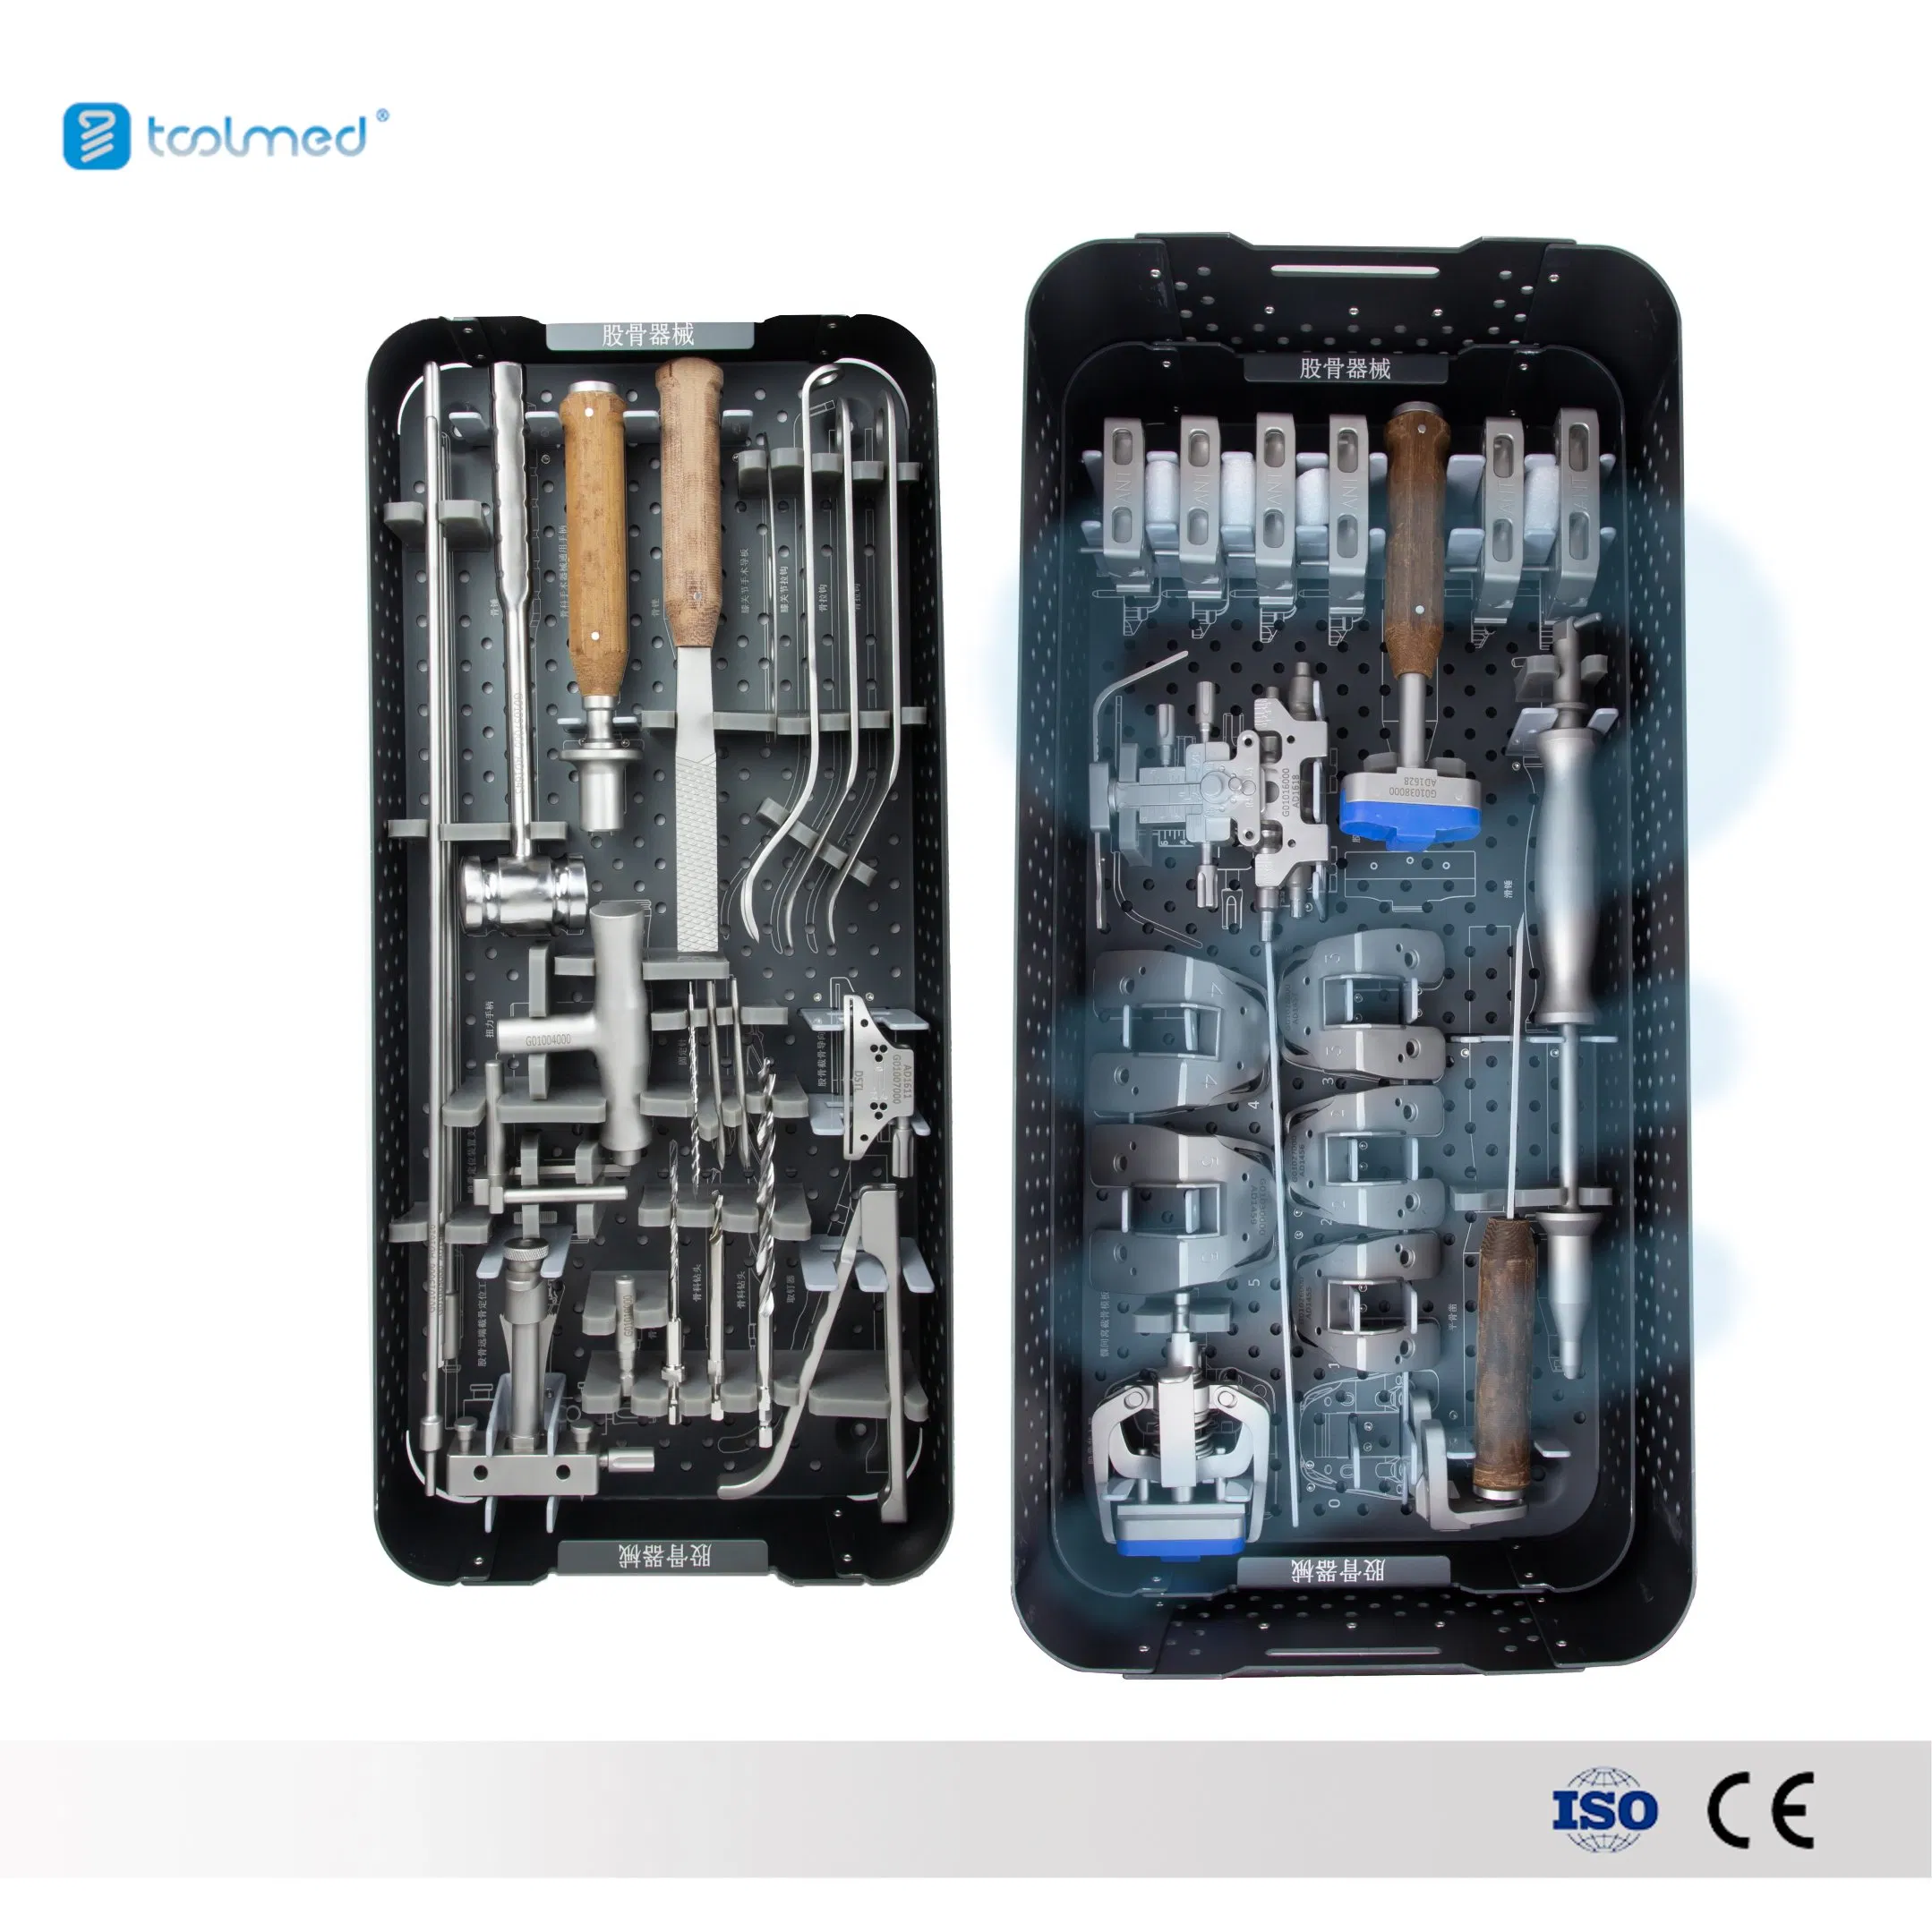
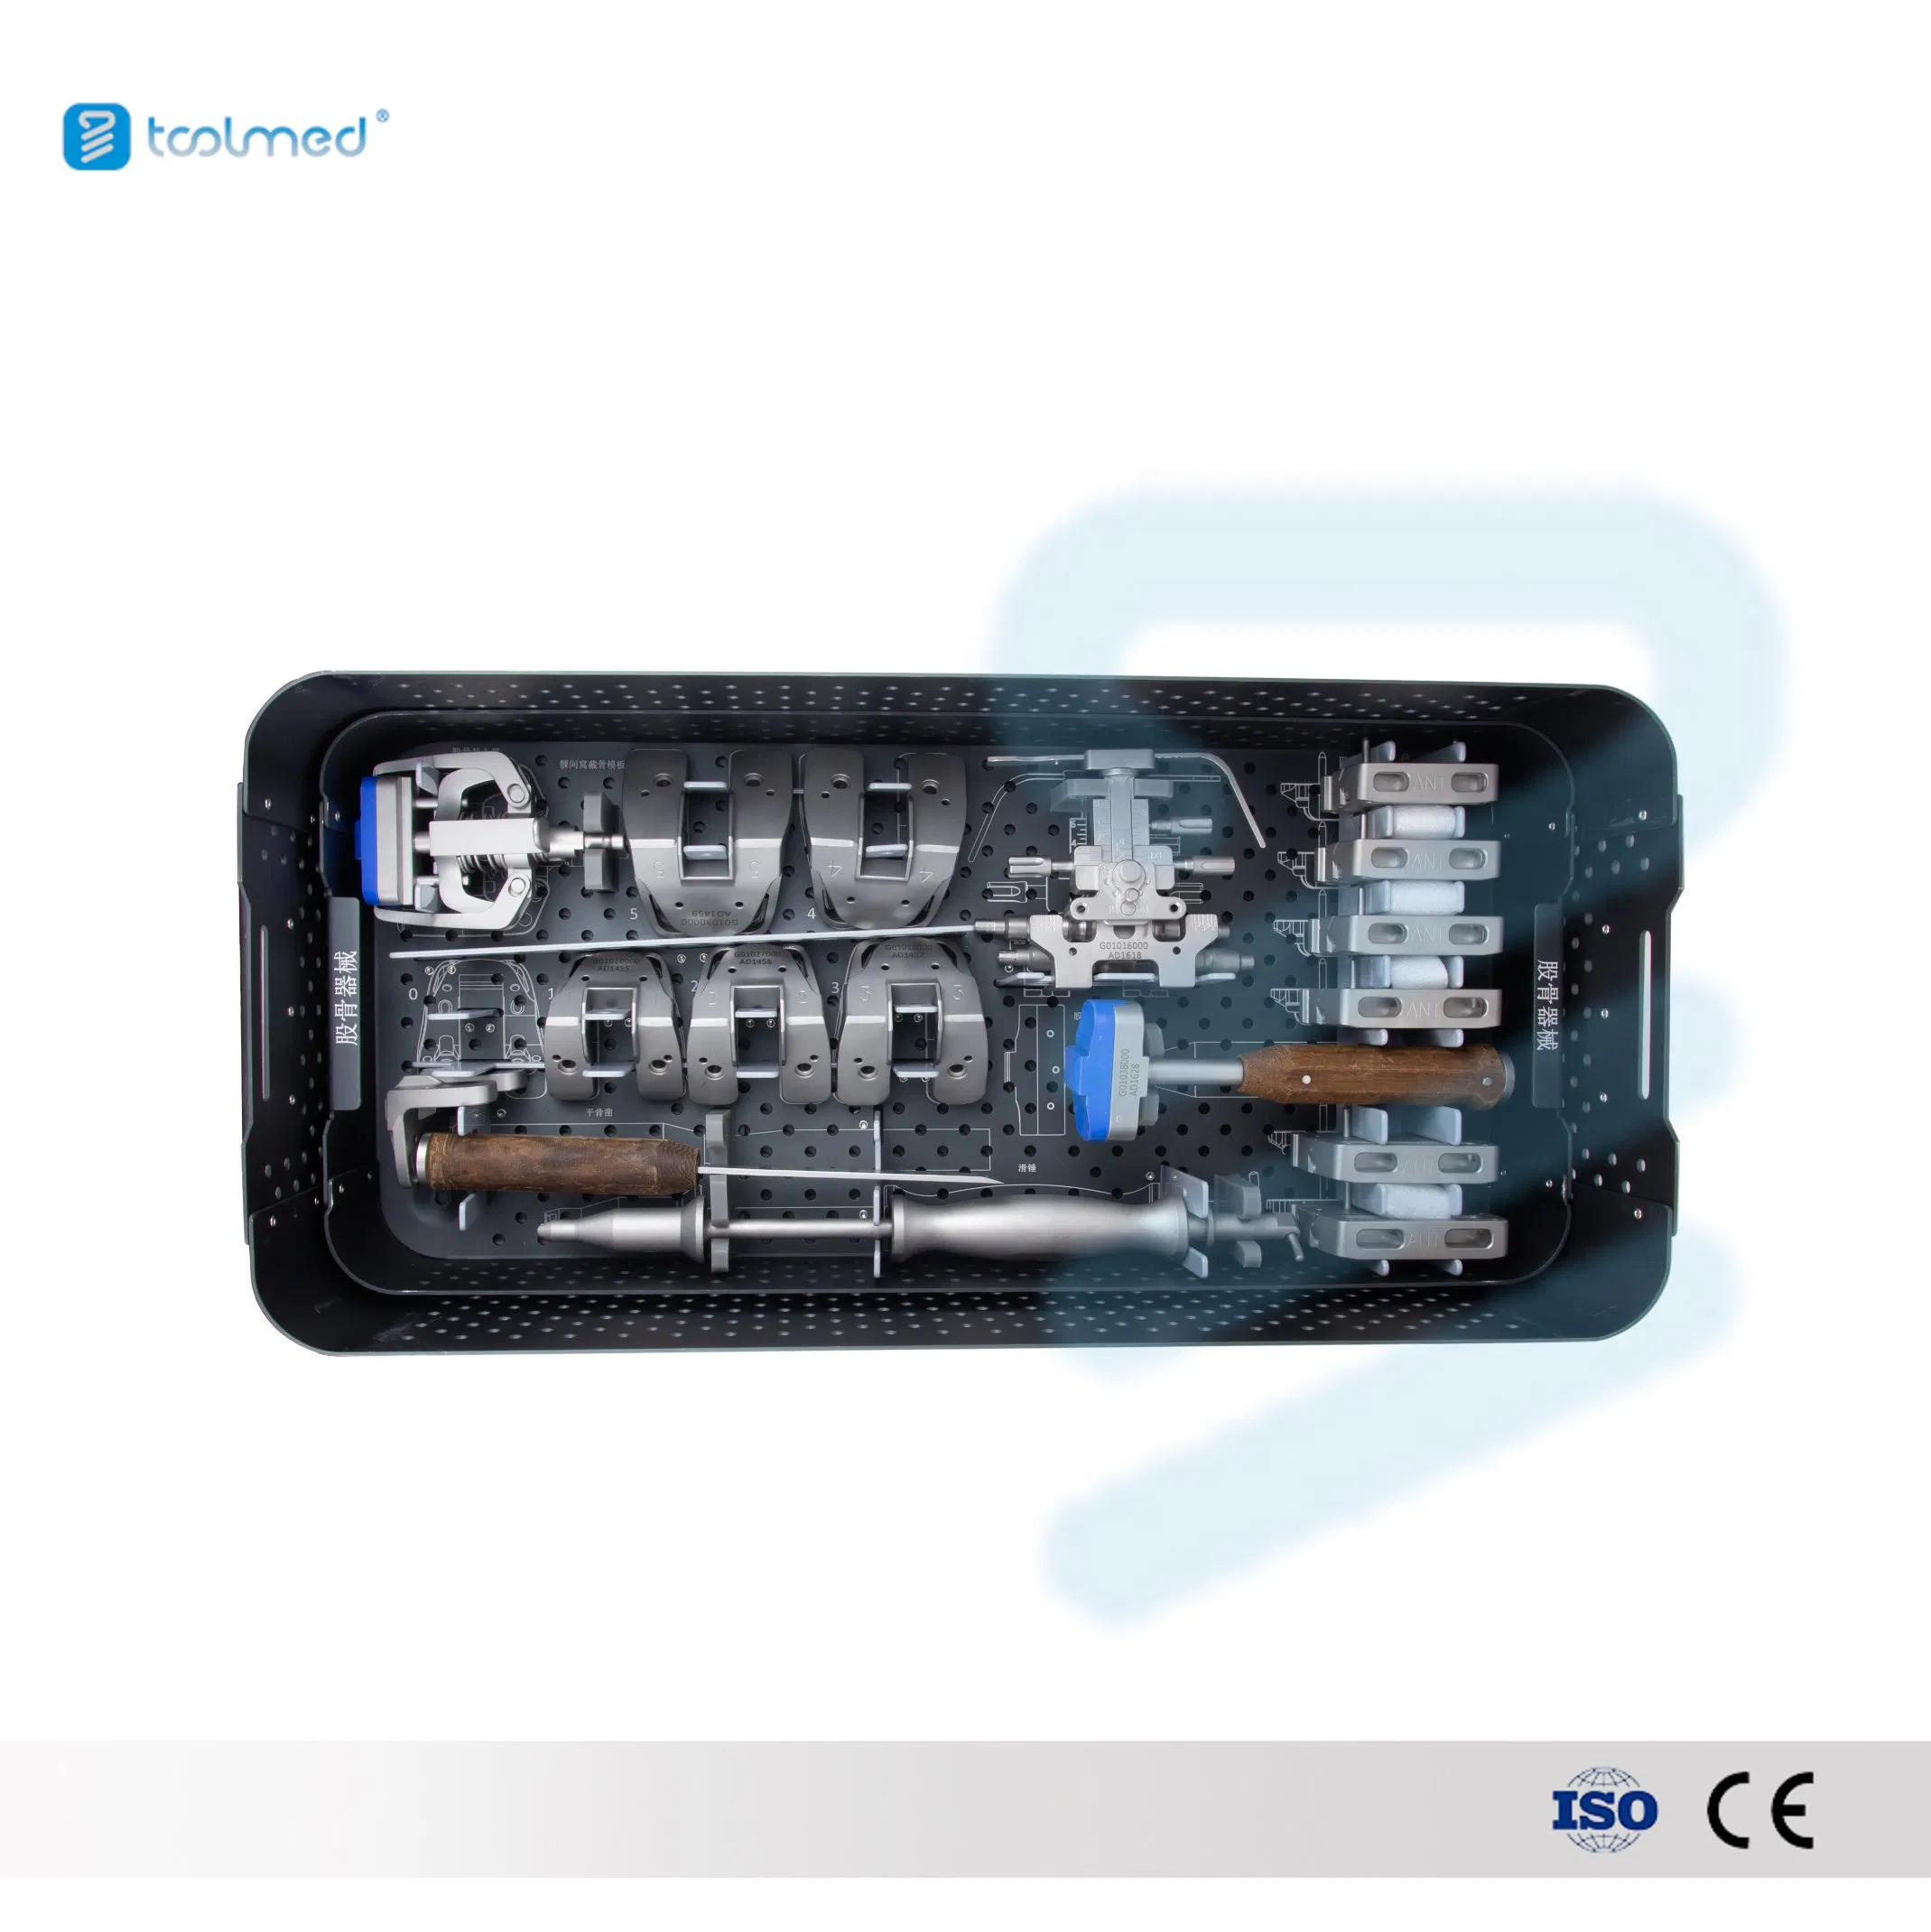
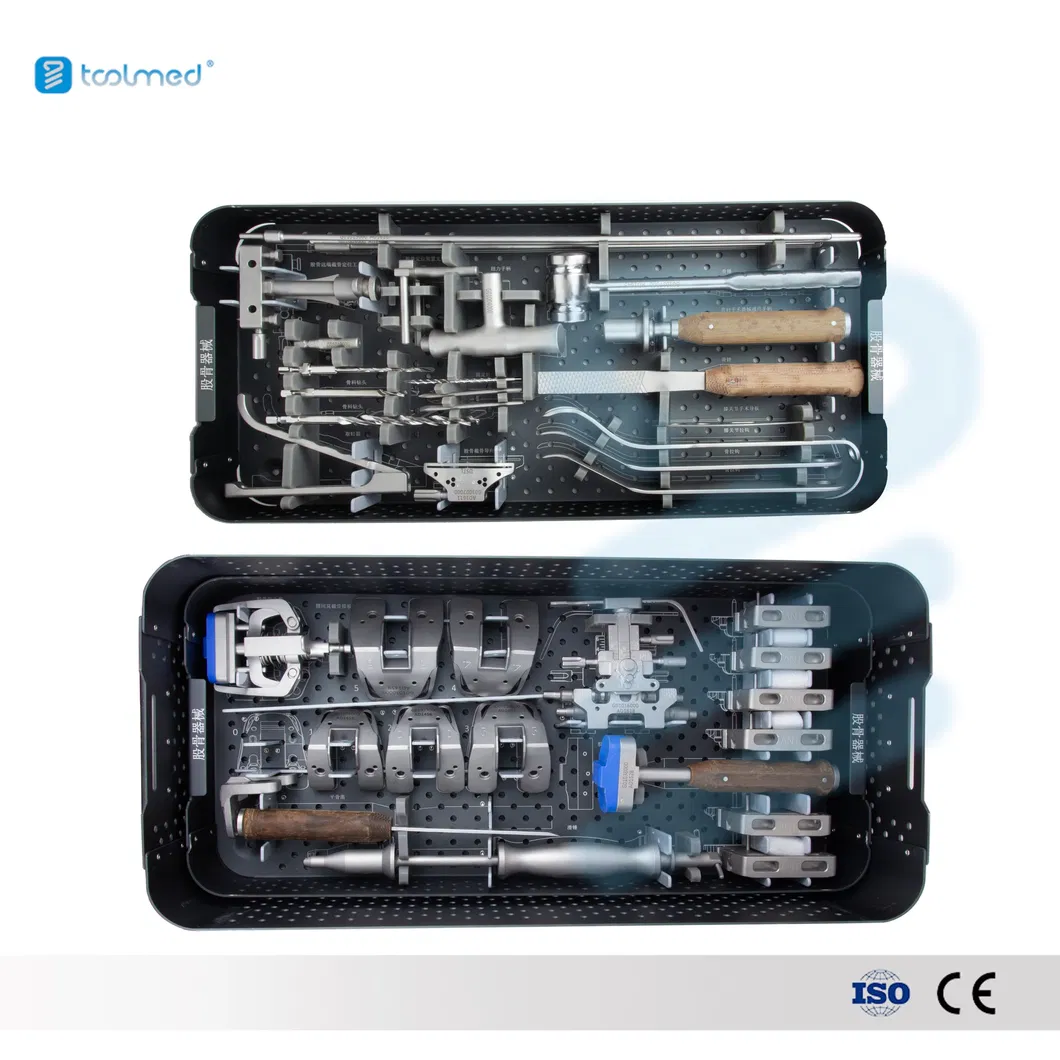
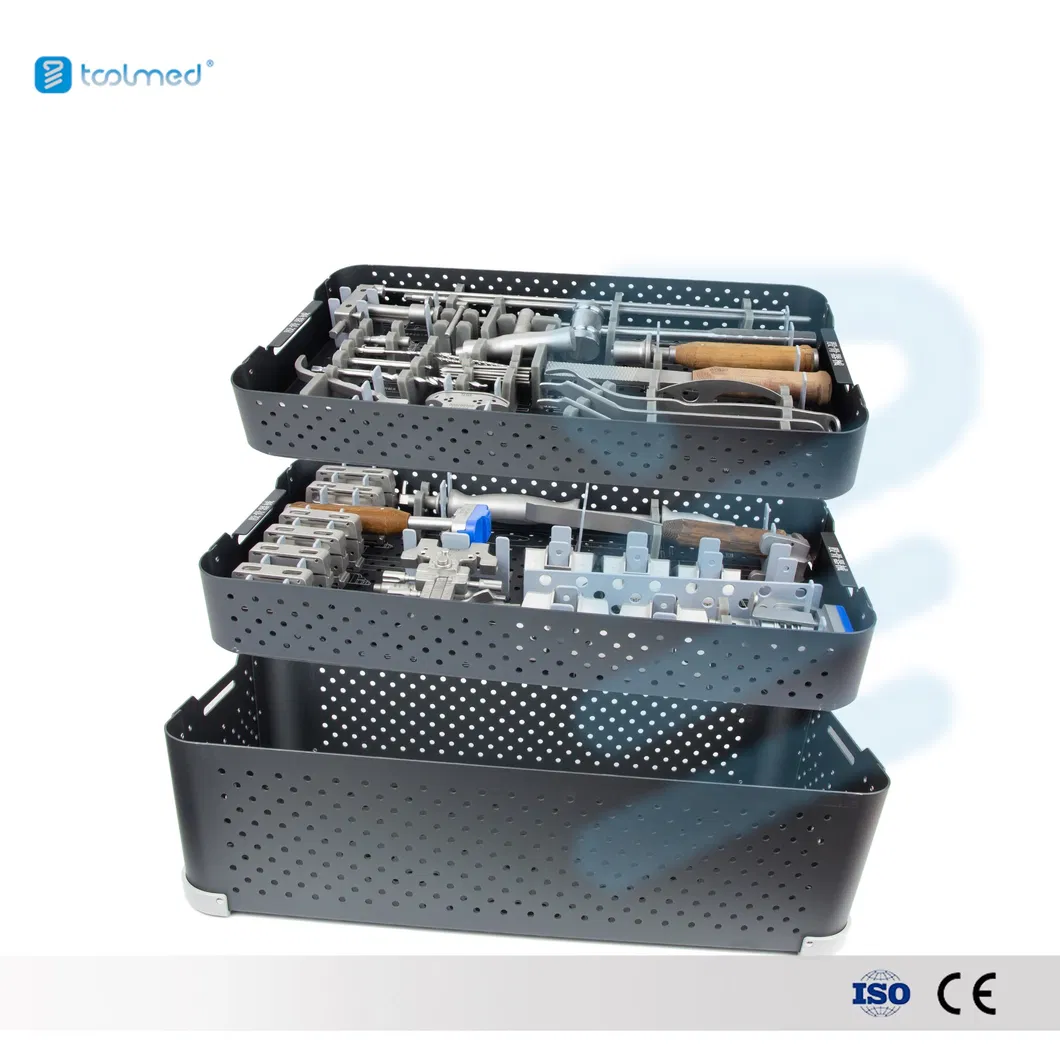
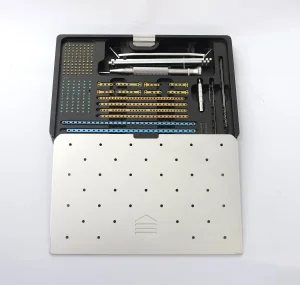
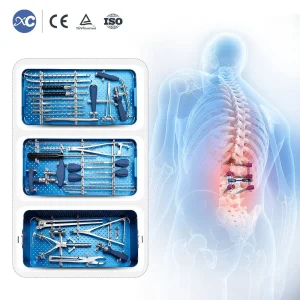
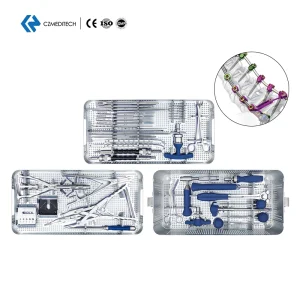
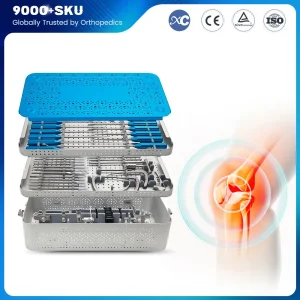
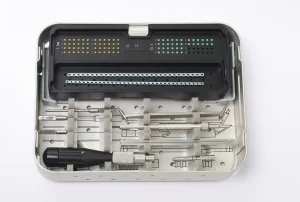
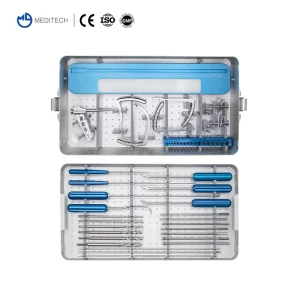
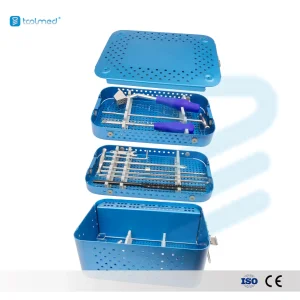
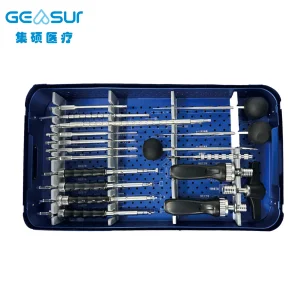
- Instrument Check: Verify all components of the femoral instrument set (e.g., cutting blocks, alignment guides, sizing templates).
2. Surgical Approach
- Incision: Standard medial/lateral parapatellar, midvastus, or subvastus approach.
- Exposure: Reflect patella, expose distal femur.
3. Femoral Resection Steps
A. Distal Femoral Cut
- Alignment: Use the distal femoral cutting guide (intramedullary/extramedullary).
- Resection Depth: Set according to preoperative planning (typically 9-10 mm from the least affected condyle).
- Verification: Check alignment with a spacer block.
B. Anterior & Posterior Femoral Cuts
- Sizing: Use the femoral sizing guide to determine implant size.
- Rotation: Set anteroposterior (AP) cutting block aligned with Whiteside's line or the transepicondylar axis.
- Resection: Make anterior, posterior, and chamfer cuts using the 4-in-1 cutting block.
C. Notch Preparation (if applicable)
- Intercondylar Notch Cut: Use the notch cutting guide for cruciate-retaining (CR) or posterior-stabilized (PS) designs.
4. Trial Implant Placement
- Fit Check: Insert trial femoral component, assess alignment, and balance with tibial/patellar trials.
- Range of Motion (ROM) Test: Verify knee stability in flexion/extension.
5. Final Implant Fixation
- Bone Preparation: Pulse lavage, dry bone surface.
- Cementing Technique: Apply PMMA bone cement, pressurize, and seat the femoral component.
- Alternative: Press-fit technique for cementless implants.
6. Closure
- Irrigation & Hemostasis: Saline wash, electrocautery as needed.
- Layered Closure: Capsule, subcutaneous tissue, skin.
💡 Key Considerations
- Alignment: Critical for implant longevity (avoid malrotation).
- Soft Tissue Balance: Adjust cuts if gaps are asymmetric.
- Implant-Specific Steps: Follow manufacturer's guidelines for specific implant systems.